


Long before the advent of cameras, artists earned their living by making realistic paintings, but things have changed since digital cameras replaced painters with professional photographers. They started by using manual cameras, but that too was replaced with digital ones. You may own a good digital camera but without proper experience, taking good photos might be hard as most likely you will be limited to default settings. As an experienced photographer, you have to be able to tweak your camera to fit the working environment as the situation may require.
Although people take photography as a full-time career, to some it is a side job which they do during weekends and holidays. A student too can pursue it as a career, but if overburdened with academic assignments to the extent that they cannot follow their passion even as a side job, they can always liaise with a coursework writing service for British students to get some assistance.
The following tips will help you transform from being a layman into a first-class professional.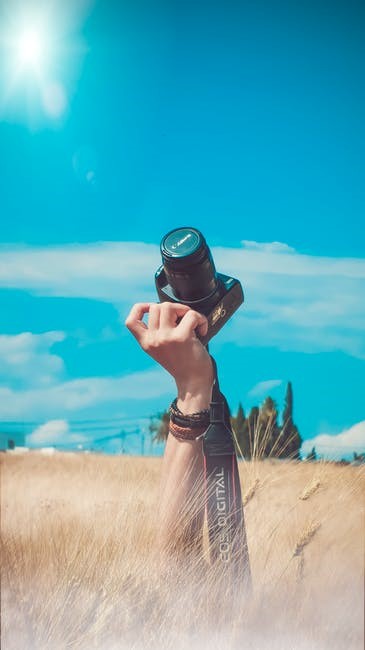
- Invest in a good but inexpensive camera
The most common mistake beginners tend to make is buying an expensive camera which they are unable to utilize fully. Beginners feel frustrated if they don’t take time to learn and understand their devices well, and if they can’t take good photos, they can’t attract well-paying clients meaning that recouping the investment costs might be hard. For this reason, it is advisable to buy a good but not necessarily an expensive camera. Better purchase another camera when you are already good at the basics.
Apart from having a camera itself, you will need other things such as:
- Lens – some digital gadgets enable one to use different lenses;
- A bag – you will require one to carry your stuff around in;
- A memory card – some devices have inbuilt memories but can be limited in storage capacity. You can use an external memory card to expand its storage;
- Tripod – depending on the nature of your photography, a tripod may come in handy;
- Flash – enables one to take quality pictures even in dark environments;
- Batteries – it is good to carry extra batteries just in case those in the device get low;
- Processing software – post editing images is now easy as there are several applications that professional photographers can use the most common one being Adobe Photoshop.
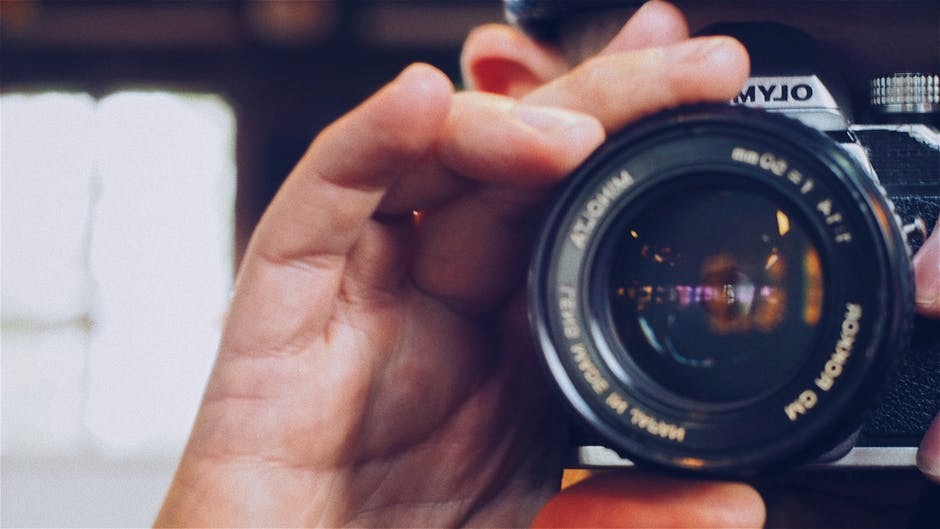
- Take time to understand your camera’s settings
We have all at one time tried to capture images with a viewfinder, but upon pressing the button, you capture nothing and not because you have pressed the wrong button but simply because you have used wrong settings.
Photography business thrives through referrals thus, if you want to retain clients and attract new ones you must learn how to make someone like you. Suppose you are hired to cover a crucial event but ruin everything because you haven’t mastered the basics – would that customer ever hire you again?
Basically, the following are some of the settings to start with:
- Focusing modes such as AF-S, AF-A, and AF-C
- Metering: this is cameras’ ability to determine the correct aperture and shutter speed subject to the amount of light reaching the sensor. If these modes are applied well, they enable one to control exposure level irrespective of the shooting environment.
- ISO settings to control images’ brightness: if not well set, poor images are captured, but if you do not want to interfere with your settings, you can stick to default ones, because if setting it too high the photo gets noisy and grains may appear.
- Aperture is a hole that controls light reaching the sensor. Just like in an eye, the pupil shrinks and expands relatively to the amount of light it gets exposed to, and the same happens to the aperture. Thus, if expanded, much light will reach the camera’s sensor, and the photo will brighten, and if you do the opposite, it darkens.
If you can play about with these settings without problems, then you should not consider yourself a beginner.
- Take photos in raw modes
Many photographers don’t take photos in raw file format yet it is the best capturing mode since images are not compressed or altered in any way, but if you use JPEGs, the files are processed and compressed, and in the process, some data gets lost. Through compressions, a 25Mbs file can be compressed and reduced to about 7&10Mbs if the output is set as fine, and the same can be reduced further to 5Mbs if it is set to normal.
One advantage of shooting in raw mode is that, though it occupies big storage space, you can control exposure limits through post-processing, although this may be somewhat time-consuming.
Digital devices allow videos and images to look as real as those food paintings you see in museums. Anyway, if you learn and master photography well, then there is no reason why you shouldn’t consider yourself a professional photographer.
- Learn using semi-automatic shutter modes
No camera has many shutter settings as DSLR but if familiar with it, play about with these settings, both default, and semi-automatic modes. The semi-automatic mode allows varying of shutter and aperture priority without affecting either ISO nor shutter speed, as these are controlled by the device, and if you are keen, you will realize how variations affect the quality of an image especially blurring image sections.
You will notice areas that are under- or overexposed to edit them to balance the image, and once you familiarize yourself with semi-automatic modes, you can experiment then with manual modes as they give full control over shutter speed, ISO, and aperture priority.
- Using histograms to enhance exposure
A histogram is an important tool that enables photographers to measure an image’s color and light’s through a graphical representation. It resembles the graphs used in mathematics with both X & Y axis, but in photography, the X-axis shows the value of light intensity and the Y-axis shows the value’s occurrence frequency.
The histogram is an important control tool that, in case you know how to read the graph properly, can give you a hint on how to adjust your image so that you get the best possible quality out of your photo shoot.
