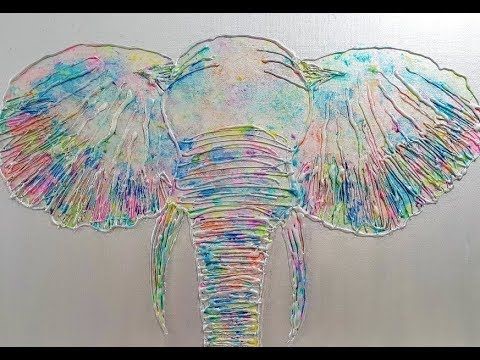
Superglues are way more than just adhesives used to hold two or more materials together. They can also be used to make beautiful, living room-décor-worthy art.
It is simple to make art with glue. The types of art you can make with glue range from hot gun art to wall art and a host of several other art forms.
Today I will be walking you through the process of making fantastic glue gun art in less than twenty minutes. Doesn’t that sound interesting?
You can create your artwork for your room using simple good DIY products from your local shop down the road.
First, we need to get the necessary materials for our glue art. We will need:
- Canvass
- Glue gun
- Gesso
- Acrylic colors
- Paper towel
How to make Glue art
- You place the canvass on a table for balance. You can use whatever size of canvass you prefer, but for today’s example, we used a 10 by 14 canvas. The size of the canvas you’ll be using depends on what you want to make.
- After placing the canvas on the table, get your glue gun, already hot and filled with glue, and start making gnarled trees lines with the gun. Press the gun, move it accordingly to form the twisted paths of the tree. To make the tree branches thicker, apply the glue more than once on each gnarled line.
- When you have the desired shape, allow the glue to cool and dry on the canvass.
The time required to let the glue dry depends on the type of glue you used and how much of it you applied on the canvass. Ten to fifteen minutes should be more than enough time for the adhesive to cool and dry on the canvass. - When it is dried, apply gesso.
Gesso is a plaster of Paris or gypsum prepared with glue for use in painting. It is similar to white acrylic paint but thinner.
Gesso makes the surface it is applied to thicker, and it dries super fast. Gesso, in our glue art, helps the subsequent layers of paint to stick to the glue. Use a small brush to dab the gnarled lines of the tree.
At the bottom of the canvas, where our root is, gesso helps to fill the pockets. - After you have finished applying the gesso, allow it to dry completely. Five minutes will do.
- Once the gesso is dried, we start layering with acrylic colors. With a small brush, we dab the tree with iridescent gold color. Apply the paint on every part of the canvass, dabbing carefully.
- Then allow the paint to dry for a few minutes, say about five minutes.
- After the paint has dried, get a thin layer of black mixed with water and paper towels to absorb excess black.
- Using a brush, dab the canvas with the black mixed with water. Use long, haphazard strokes to spread the black over the art.
- When you finish dabbing the black over the canvas, gently tap the paper towels to absorb the excess black.
- After you are, you can stop here.
Or you can add other acrylic colors if you want. We used emerald green to give our tree the green feel. As we did with black, we used a wet paper towel to remove excess green from the canvas. - Once you finish with this, give it some time to dry, and you have your beautiful art, ready to beautify the walls of your living room, or bedroom, or office.


